
Whether you're monitoring wildlife, surveying roosting bats, or checking habitat activity, thermal cameras have become invaluable tools for ecologists. However, to get the most out of your device, it’s essential to understand the basic settings and how they can impact performance. This guide walks you through the key steps to ensure you’re set up for success.
1. Focus: The Most Overlooked Essential
It may sound obvious, but one of the most common mistakes when using a thermal camera is neglecting to focus it properly. Many users expect to pick it up and immediately get a clear picture, but optimal performance requires a couple of simple adjustments:
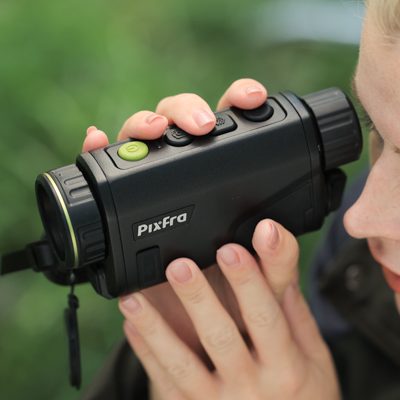
- Dioptre Focus (Eyepiece): With the lens cap still on, look through the eyepiece and adjust the rear dial until the numbers displayed on-screen appear crisp. You’re not focusing the image itself yet - just aligning the screen to suit your eyesight. Everyone’s eyes are different, and this step ensures the display is sharp for you.
- Objective Focus (Lens): Once your dioptre is set, remove the lens cap and adjust the front focus ring based on the distance of your target. For example, a badger 10 yards away will need a very different setting to a deer 150 yards off. This fine-tuning is critical for capturing a sharp image.
2. Adjusting Brightness and Contrast
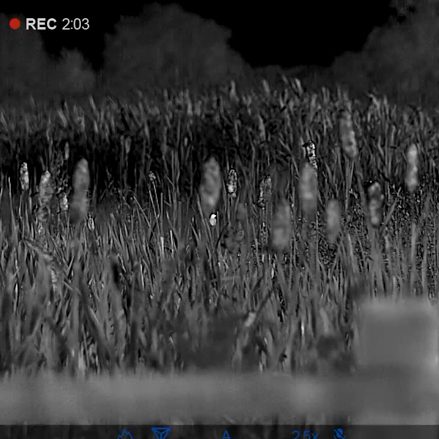
Thermal imaging is influenced by ambient conditions such as sunlight and residual heat from the environment. Within the main menu of your device, you’ll find settings for brightness and contrast, typically adjustable from 0 to 20.
On bright, sunny days, surfaces can retain heat, making it harder to distinguish warm-blooded animals from their surroundings.
By tweaking these two settings, you can enhance the clarity and definition of what you’re seeing, especially in tricky conditions.
Every Pulsar unit (and similar models) offers intuitive controls for this via a menu button. Once you’re in, a quick scroll to these settings can significantly enhance your fieldwork.
3. Selecting the Right User Mode
Most modern thermal cameras offer selectable user modes - typically displayed in the bottom left of the screen as N, H, or U:
- N (Normal): Best used in standard, dry conditions with low humidity.
- H (High): Offers more amplification when conditions start to degrade.
- U (Ultra): Ideal for extremely challenging environments, such as heavy rain or mist.
Be cautious though: higher settings aren’t always better. For example, on a crisp and clear day, switching to Ultra might unnecessarily introduce ‘noise’ into your image. Save those stronger modes for when the weather really calls for it.

4. Battery Life and Maintenance
Like any piece of kit, the better you look after your thermal camera, the more reliable it will be in the field. Take the time to understand the settings menu not only can you customise image quality but also manage things like power-saving features and password protection.
Being prepared means fewer surprises during surveys, and better results when it matters most.
Thermal cameras are incredibly powerful tools in the ecologist’s toolkit. But as with any specialist equipment, a bit of knowledge goes a long way. By taking the time to dial in the focus, adjust your settings for the conditions, and select the right user mode, you'll ensure your device performs at its best helping you get clearer images and more reliable data in the field.
Need Expert Help?
If you need help understanding your thermal camera, or are in the market for a new one, our team of experts are here to help. Contact us today!